We are introducing some good changes in the way that invoices and payments are handled in ProcurementExpress.com. You will now be able to link multiple POs and invoices to payments.
The lowdown:
In the past, you would find purchase orders associated with invoices and payments in the “Invoices” and “Payments” listing menus. From 1 May 2021, you will see a different picture. Rest assured that no existing functionality will be removed.
Invoices and payments are now their own objects. So instead of seeing a PO with invoices attached in the ‘Invoice Received’ menu, you will now see the invoice objects.
Changes to the “Purchase Orders” Menu:

- Purchase orders with the status “Unpaid”, “Paid” and “Invoice Pending” can now be found under the “Purchase Orders” menu.
Updates to the “Invoice” functionality:
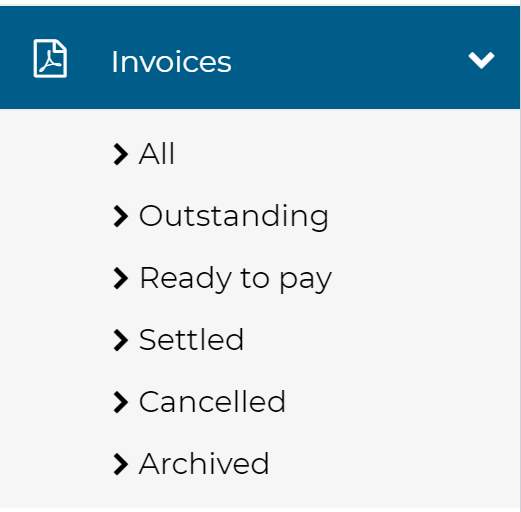
- All the listing screens below also have the button to add “New Invoice”.
- All: All invoices, irrelevant of their status.
- Outstanding: Invoices received through the Supplier Portal and attached internally, that have not been approved.
- Ready to Pay: Invoices that have been approved.
- Settled: Paid invoices.
- Cancelled: Invoices in any status that are cancelled.
- Archived: Invoices in any status that are archived.
Updates to the “Payments” functionality:
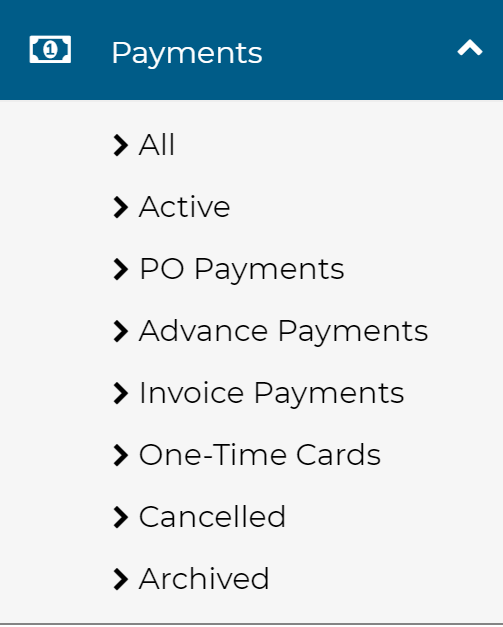
- All the listing screens below also have the button to add “New Payment”.
- All: All payments, irrelevant of their status.
- Active: Active payments that are not “Cancelled” or “Archived”.
- PO Payments: Payments associated with purchase orders.
- Advance Payments: Advance payments made on purchase orders (new feature).
- Invoice Payments: Payments associated with invoices.
- One-Time Cards: Payments associated with One-Time Cards.
- Cancelled: Payments in any status that are cancelled.
- Archived: Payments in any status that are archived.
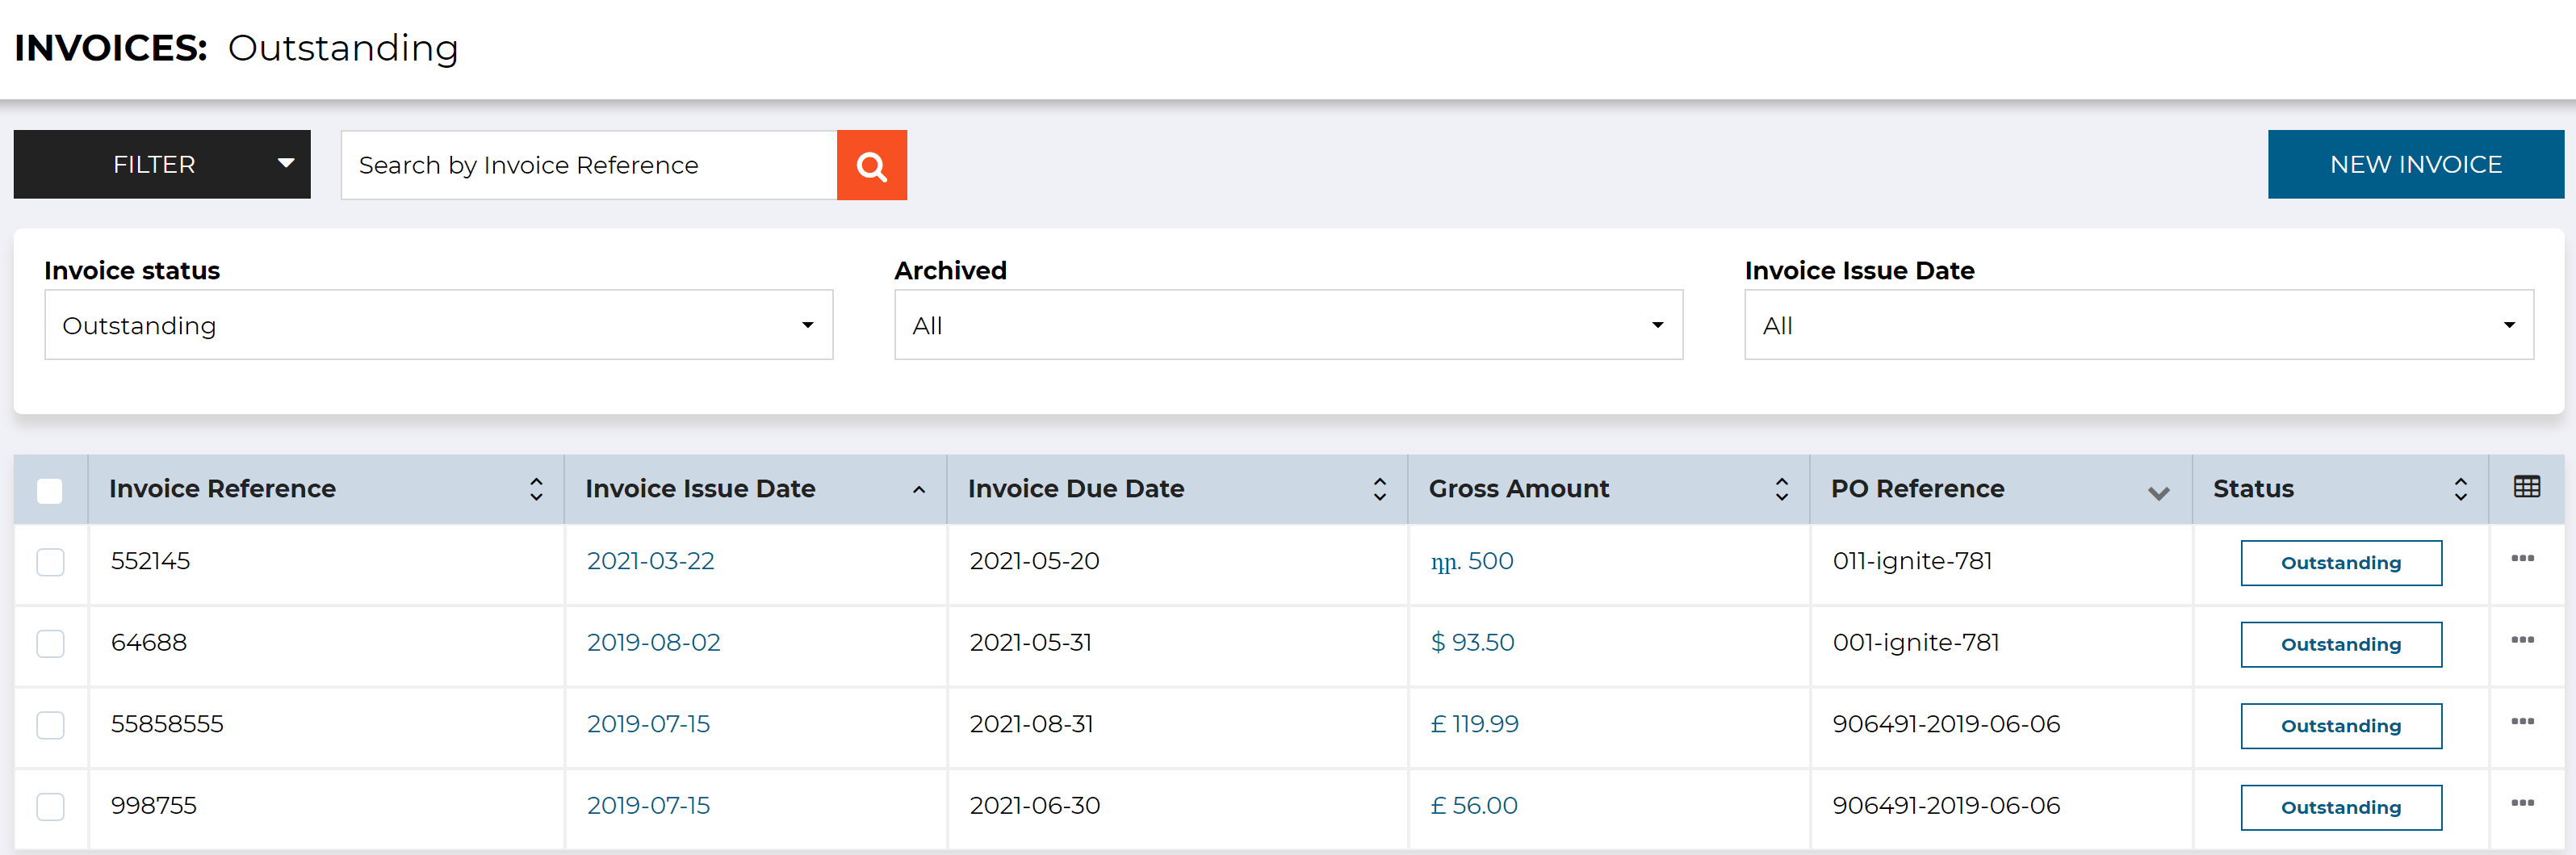
New features: invoices and payments
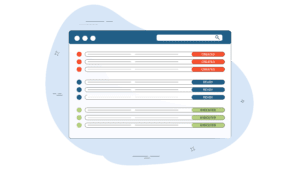
As you can see below, the invoice listing screens available through the invoices menu now displays invoices instead of purchase orders.
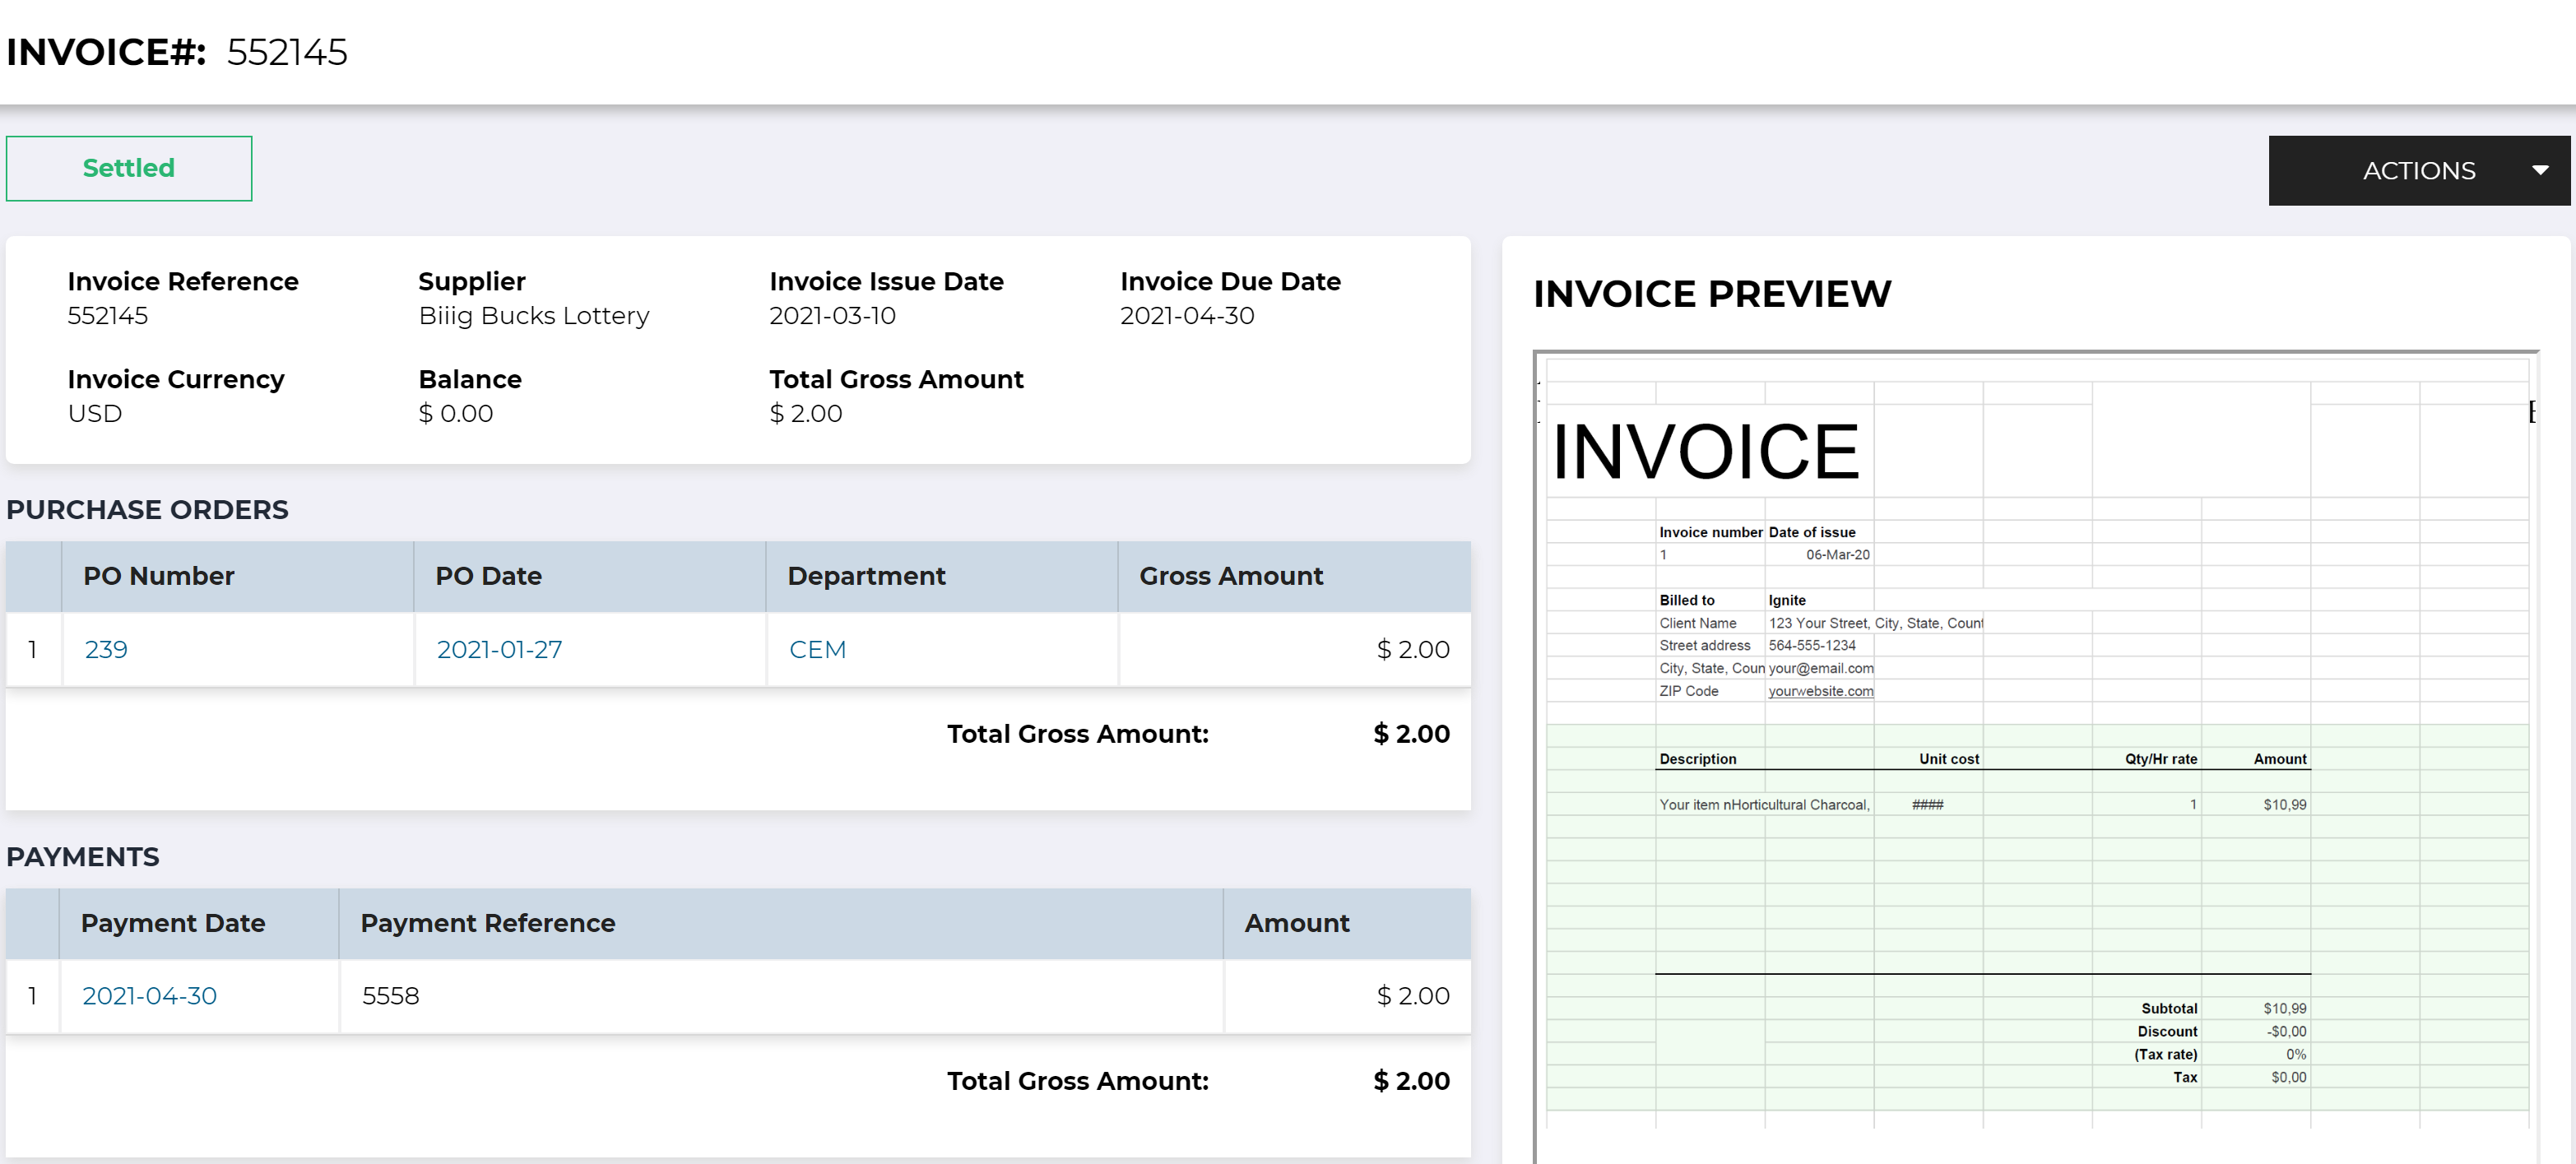
When you open one of these invoices, you’ll see that it shows the purchase orders and payments related to that invoice. You can have many to many relationships – this means that you can have multiple POs linked to multiple invoices and/or payments.
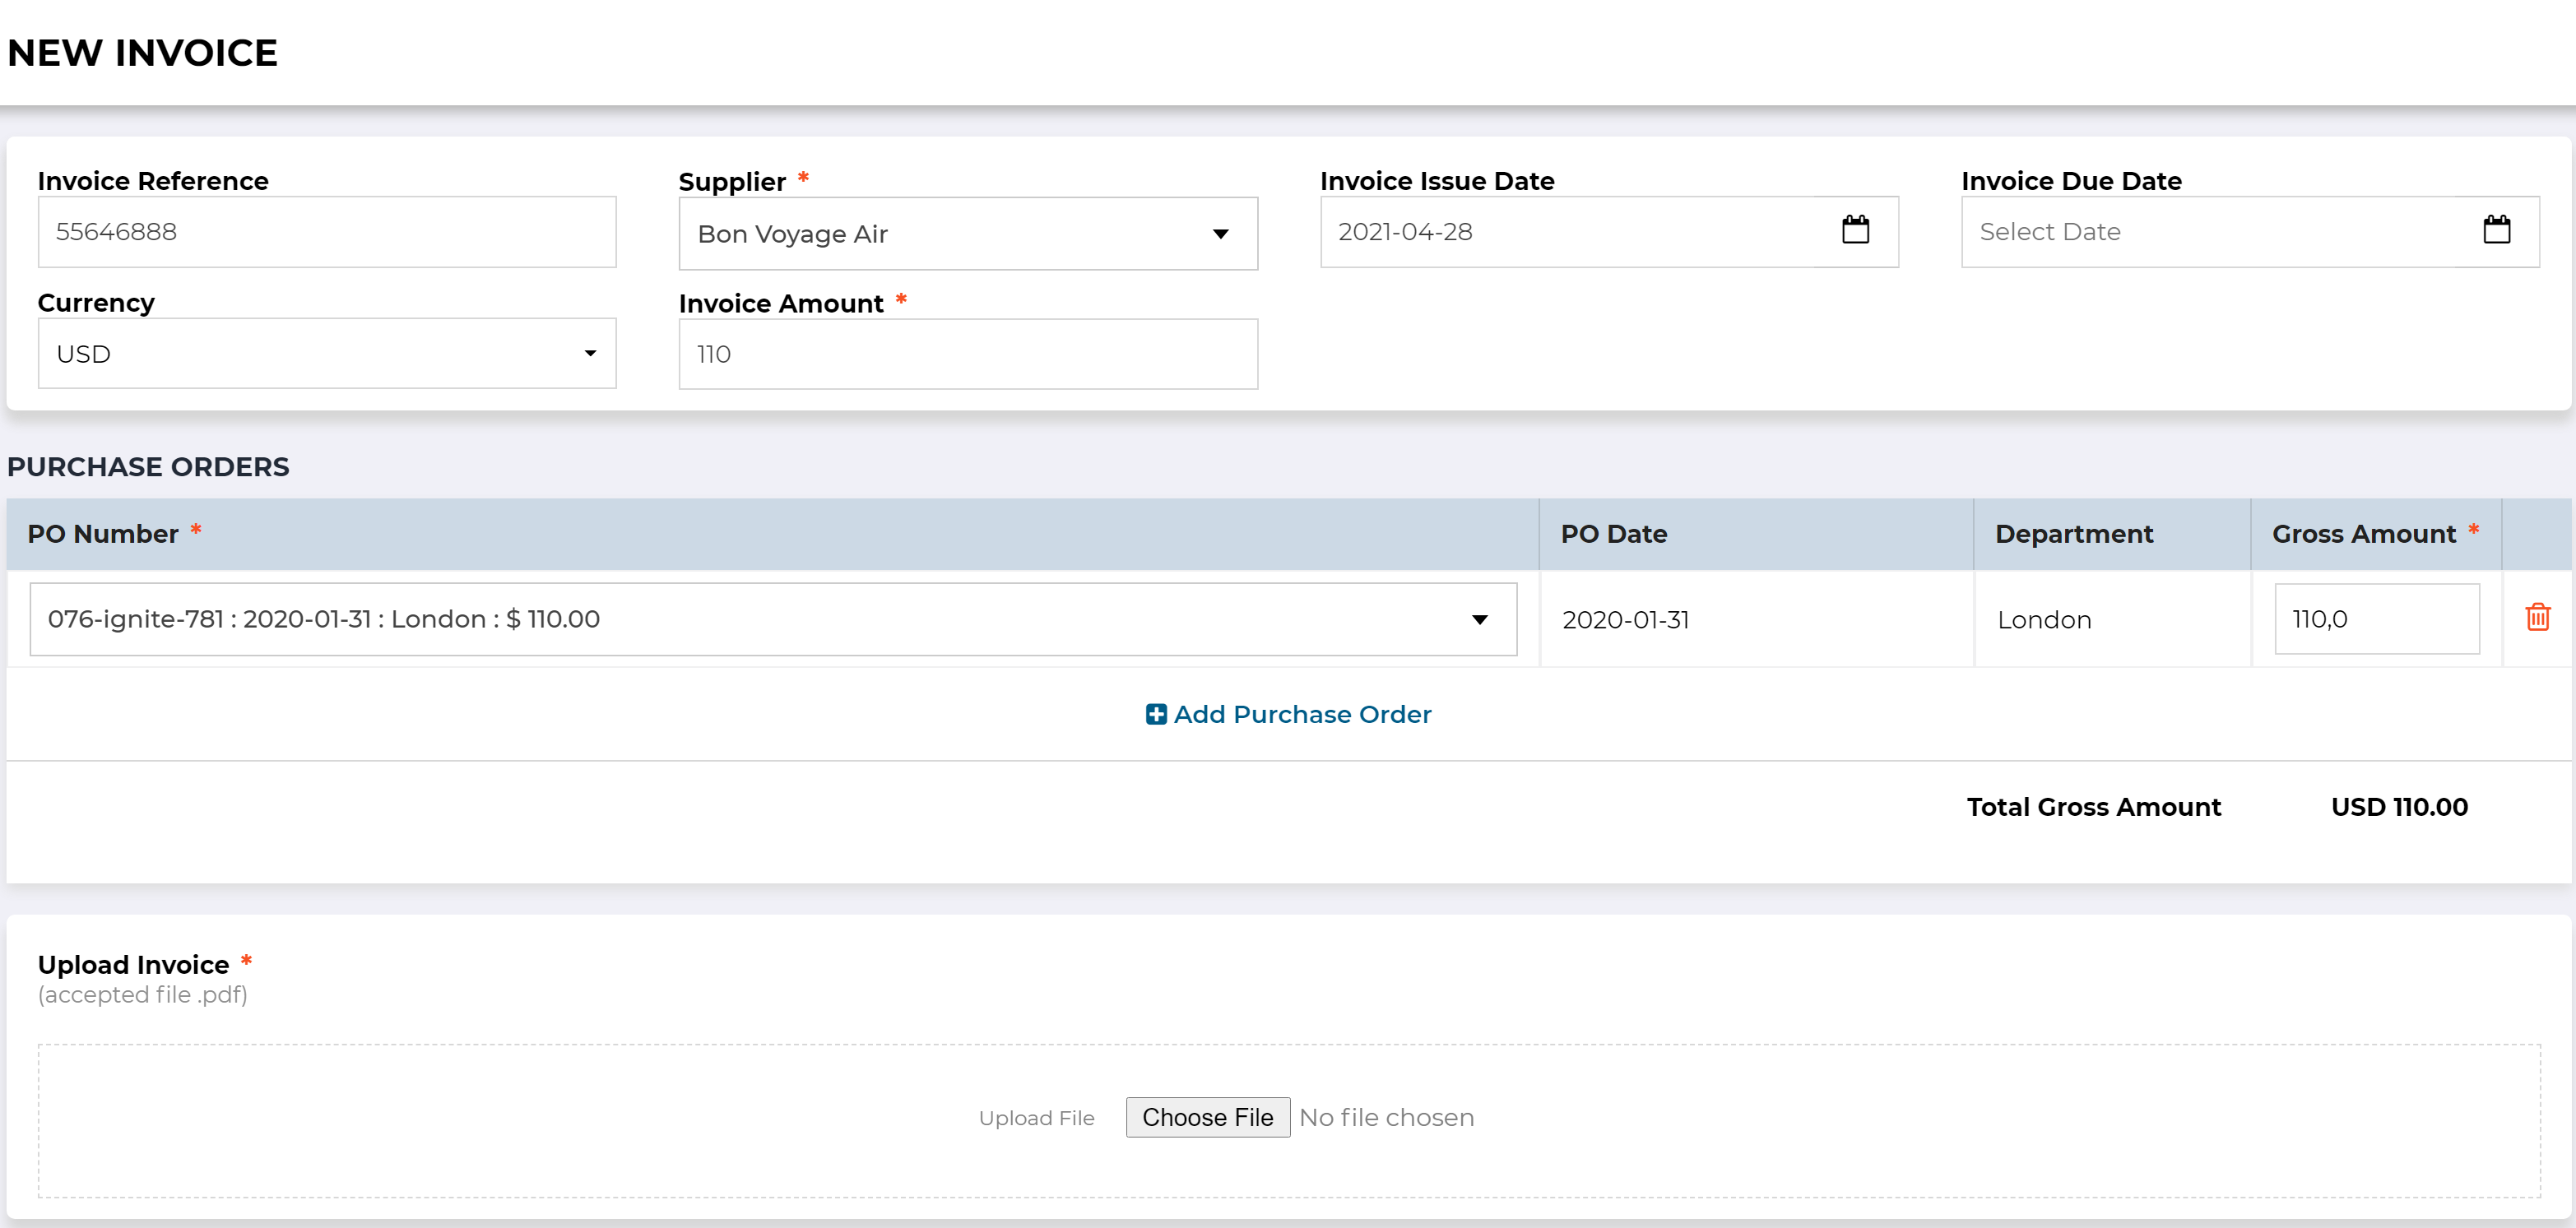
How to add a “New Invoice”:
- Find the “New Invoice” button on the top right of any invoice listing screen.
- Choose the supplier.
- Choose the currency.
- When you select the relevant PO(s), the invoice amount will update to the total of the POs selected.
- The rest of the fields on the header are optional.
- With the supplier and currency selected, a list of purchase orders will populate when you click on the “PO Number” dropdown. Select the relevant purchase order and add more purchase orders for the same supplier.
- Now upload your invoice by clicking on the “Choose File” button and “Save”.
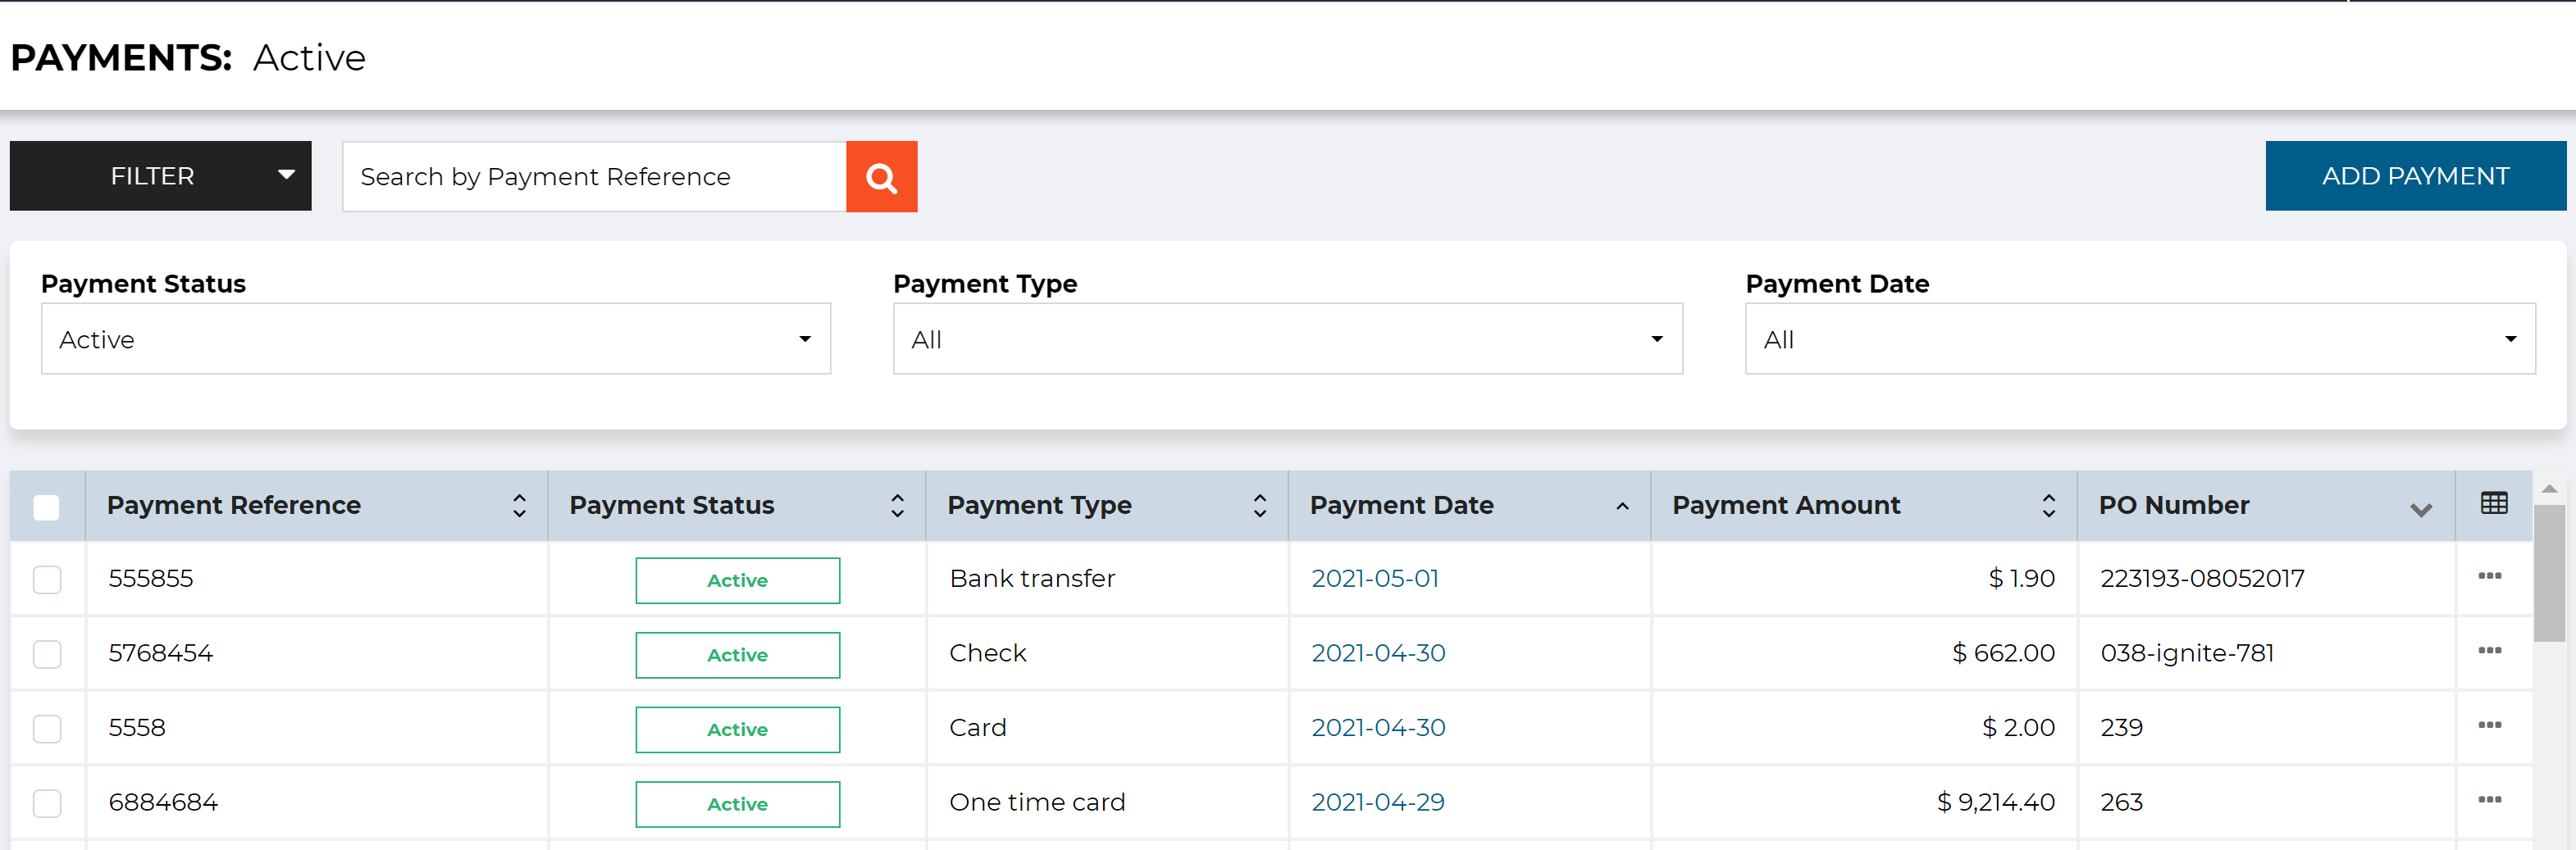
The payments menu items now consist of a list of payments and their associated PO(s). Below is a screenshot of the “Payments: Active” menu item. Active payments are all payments that are not archived or cancelled.
Click to open one of the payments and you’ll see key information in the header with the associated purchase orders and invoices lists below.

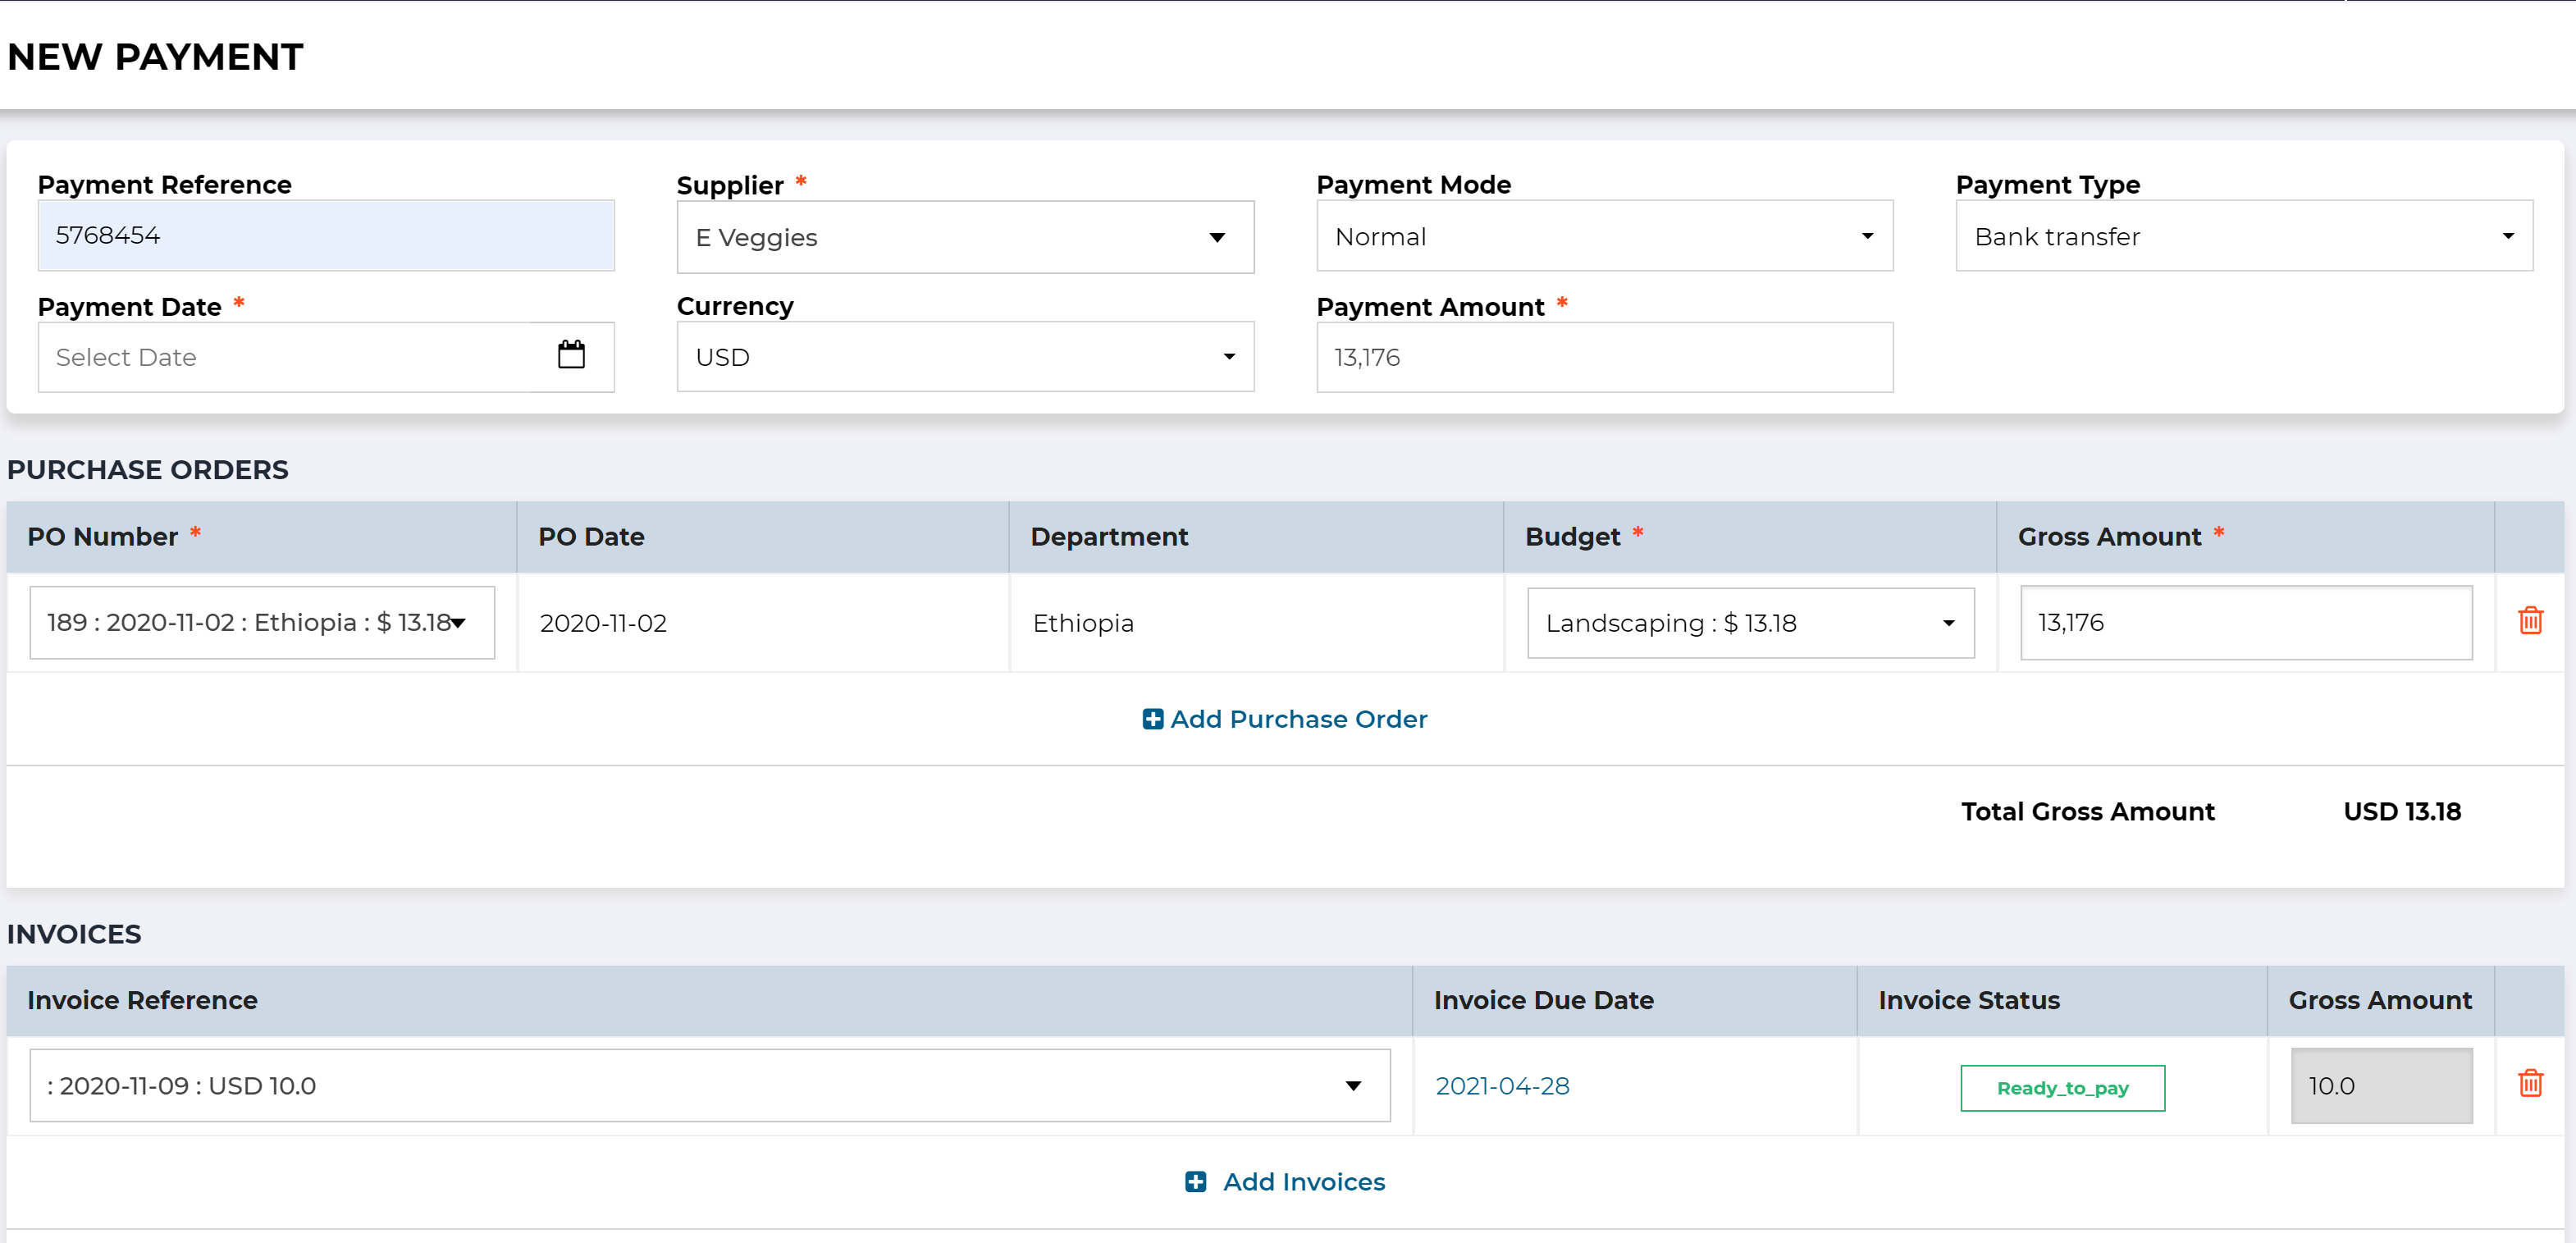
How to add a “New Payment”
Creating a new payment will give you the qualifying information in the header. So the supplier that you select will change the purchase orders you can choose from. After you select a purchase order, you’ll be able to choose which invoices associated with that purchase order, you want to pay.
- Find the “New Payment” button on any of the payment listing screens.
- The payment reference is optional.
- Choose your supplier and payment date, these are the required information in the header.
- The payment amount will self-populate as a sum of all the purchase orders you have selected in the payment.
- Payment mode gives you the options of “Normal” or “Advance” – advance means you are making a payment before you receive the invoice, so you will be able to add associated invoices with this payment at a later stage.
- Now select the first purchase order to associate with the payment.
- You can add multiple purchase orders for the same supplier and the payment amount field will change as you go.
- If your purchase order has multiple budgets, you can select the same purchase order multiple times and change the budget in the budget field.
- Once you have all the purchase orders selected, you will find a list of invoices associated with those purchase orders. You can add multiple invoices.
- Adding invoices at this stage is optional, but if you do add any, the total sum of the invoices should equal the payment amount.
- If you don’t add invoices now, you can always do this later.
Please Note: The payment amount should always be the same as the total amount on the associated invoice(s).
Changes to the existing functionality
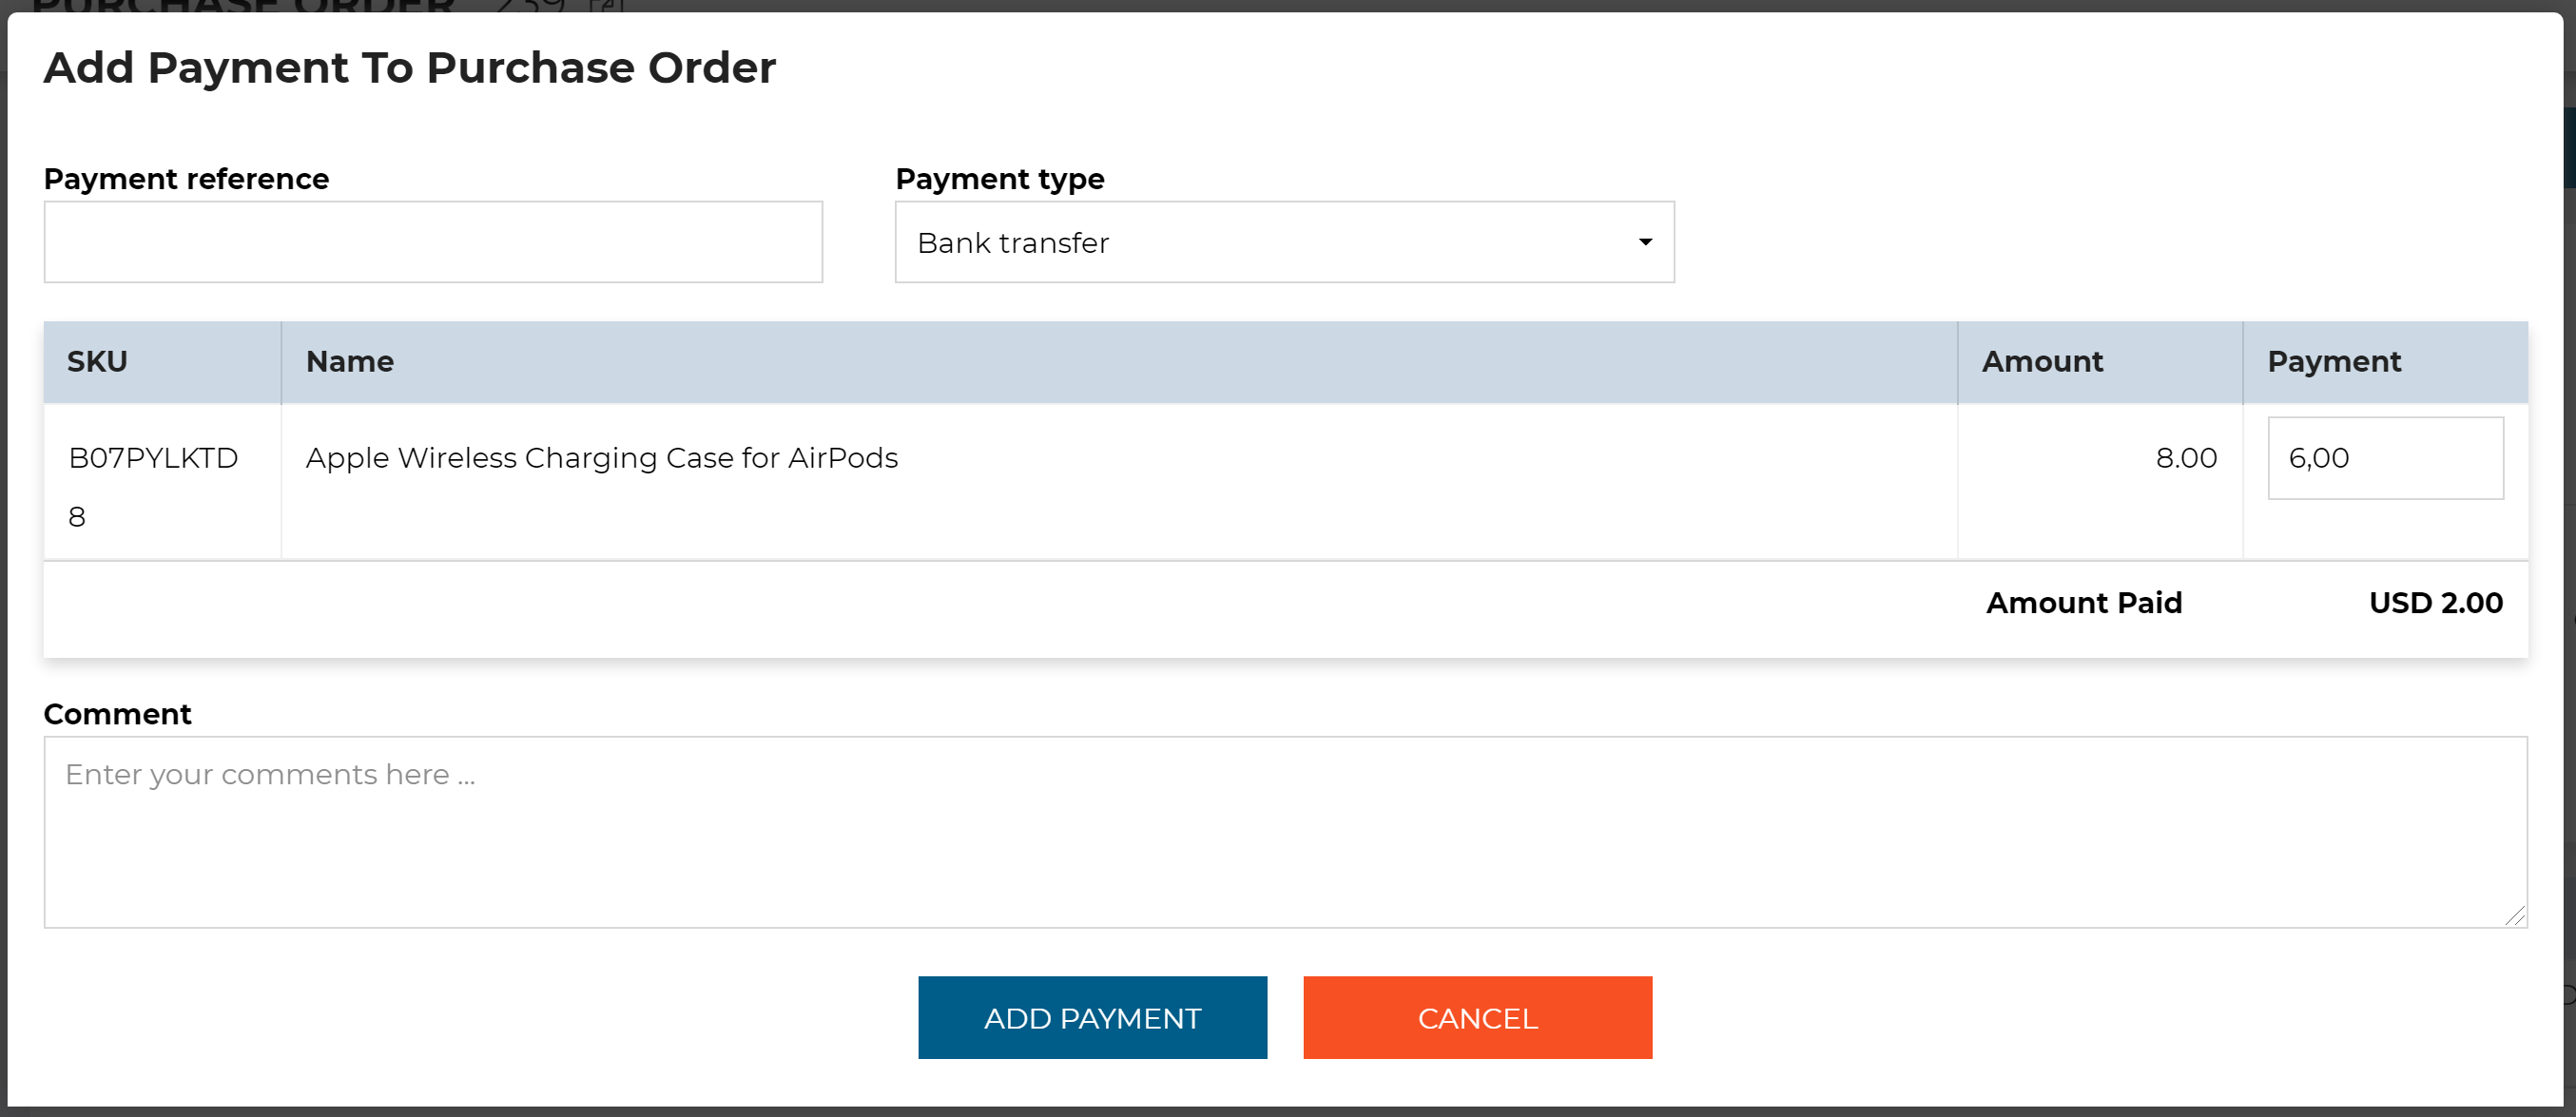
- Two new fields are added to the “Mark as Paid” and “Complete Payment” modals. They are “Payment Reference” and “Payment Type”. You will still be able to mark as paid in the traditional way and find this list in the PO payments menu item.
- Using the traditional mark-as-paid method will allocate the payments to the “Normal” Payment Mode (instead of the “Advance Payment” Mode).
- The invoice approval screen is updated, but the core functionality will stay the same. There is a new block on that screen to show associated payments.
- If you previously had an invoice attached to a PO that was marked as paid, the invoice will now become “Approved” and “Settled”.
- Only Finance and CompanyAdmin users will now be allowed to approve invoices.